With a clear assessment of site risks, you can select netting that protects the safety of your team while mitigating fall hazards; evaluate load ratings, mesh size and attachment methods to ensure compliance with standards and use durable, weather-resistant materials that match project duration and access needs, keeping operations efficient and safe.
Assessing project scope and fall hazards
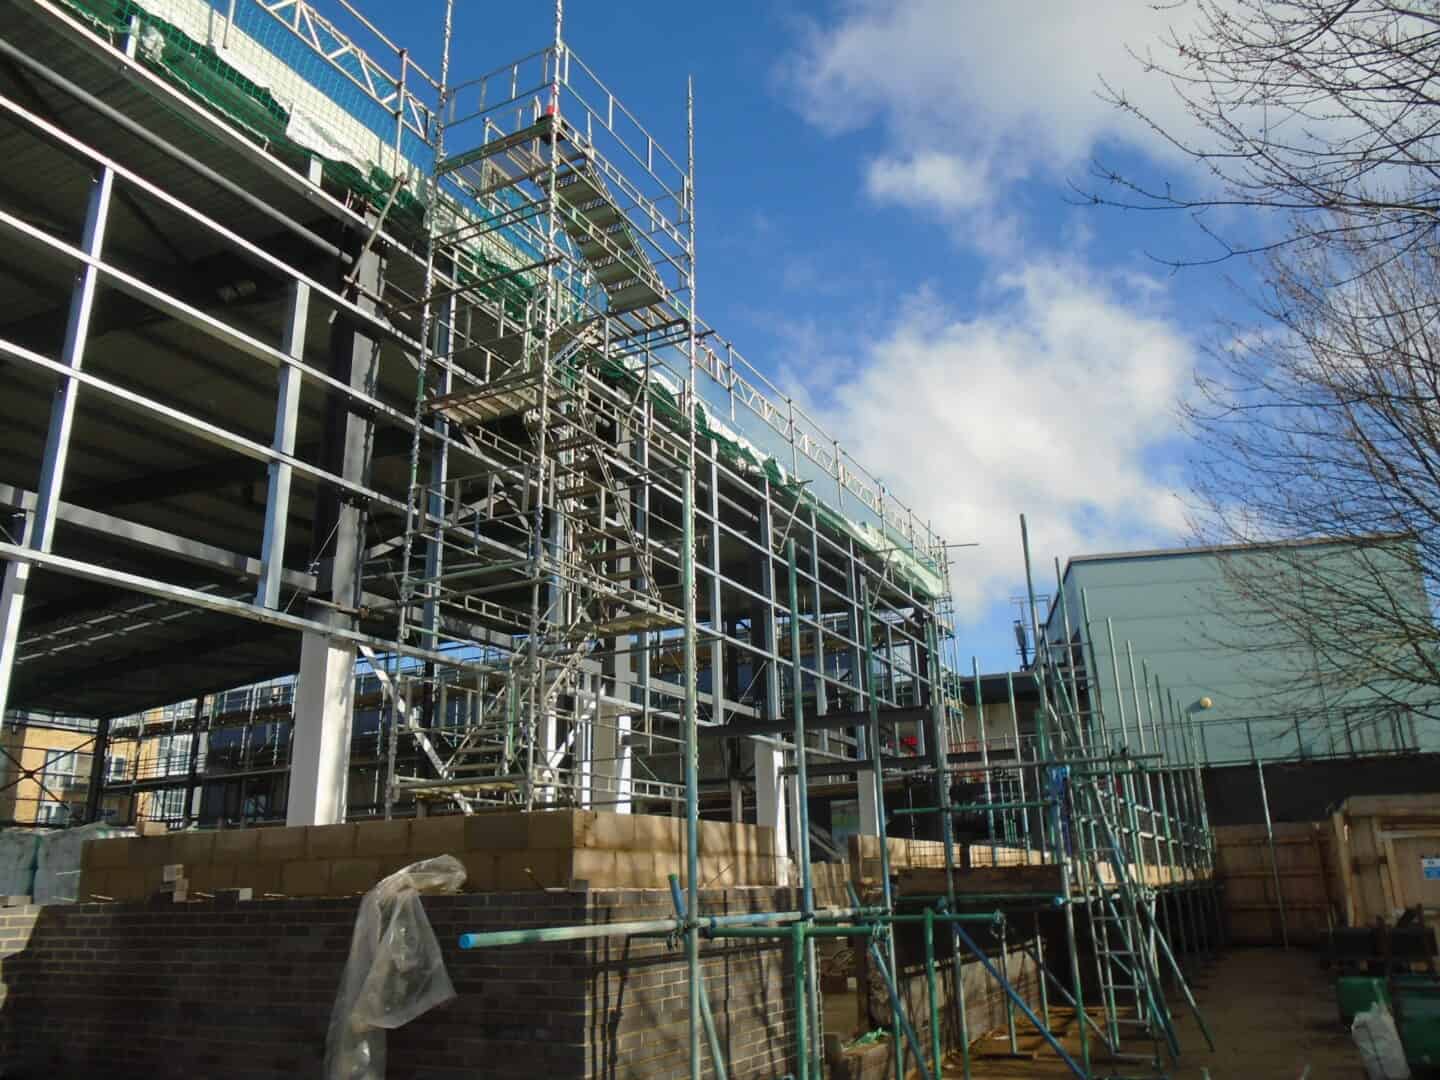
Gauge height, frequency and type of work: maintenance on a 24‑metre façade differs from one‑day roof repairs at 3 metres. You should classify hazards by fall distance (falls over 2 metres markedly increase injury severity), number of simultaneous workers, and likelihood of dropped objects. For an 8‑storey refurbishment expect multi‑tier netting and intermediate anchorage; for short‑term scaffolding a single, certified EN 1263‑1 system may suffice. Prioritise unprotected edges and penetration points as highest risk.
Site characteristics and load cases
Assess anchorage capacity, substrate type and exposure: concrete parapets, timber purlins or steel beams each demand different fixings. Account for load cases such as a falling person (design for at least an 80-100 kg mass with dynamic arrest), concentrated debris up to 50 kg and wind gusts in exposed sites (>25 m/s). For bridge work over deep voids you may need extended sag clearance and reinforced perimeters to manage higher impact and rebound forces.
User workflows and access patterns
Map how workers move: frequent crossings, tool transfers and materials hoists change net wear and attachment points. If installers access the edge every 2-3 metres, anticipate accelerated abrasion and plan sacrificial entry panels or traverse gates. Deploy nets with designated access hatches where traffic is high, and mark crossing routes to reduce ad‑hoc passages that create localized overload.
Analyse schedules and sequencing to limit interactions: stagger trades so heavy material lifts do not coincide with peak pedestrian traffic, and set defined inspection points after crane lifts or severe weather. Institute a regime of visual checks before each shift and detailed inspections at least weekly, plus immediately after any fall or gust exceeding 25 m/s. Train staff on correct passage procedures and enforce single‑point access to keep wear predictable and manageable.
Types of safety netting systems
You will commonly use debris nets for falling tools, personnel nets to arrest workers, perimeter/edge nets for façade work and scaffold screens for combined containment; selection follows BS EN 1263-1 standards and site load charts. You should match net class, mesh size and anchor spacing to the risk assessment and consult suppliers, or see Choosing the Right Safety Nets for Your Construction Site for comparison tables. This summarises typical uses, strengths and limitations.
- safety netting systems
- debris containment
- personnel protection
- temporary
- permanent
| Debris nets | Mesh designed to stop tools/materials; often polypropylene; used under working decks and at building edges. |
| Personnel nets | Higher-energy absorption, installed under work areas to arrest falls; must meet BS EN 1263-1 test criteria. |
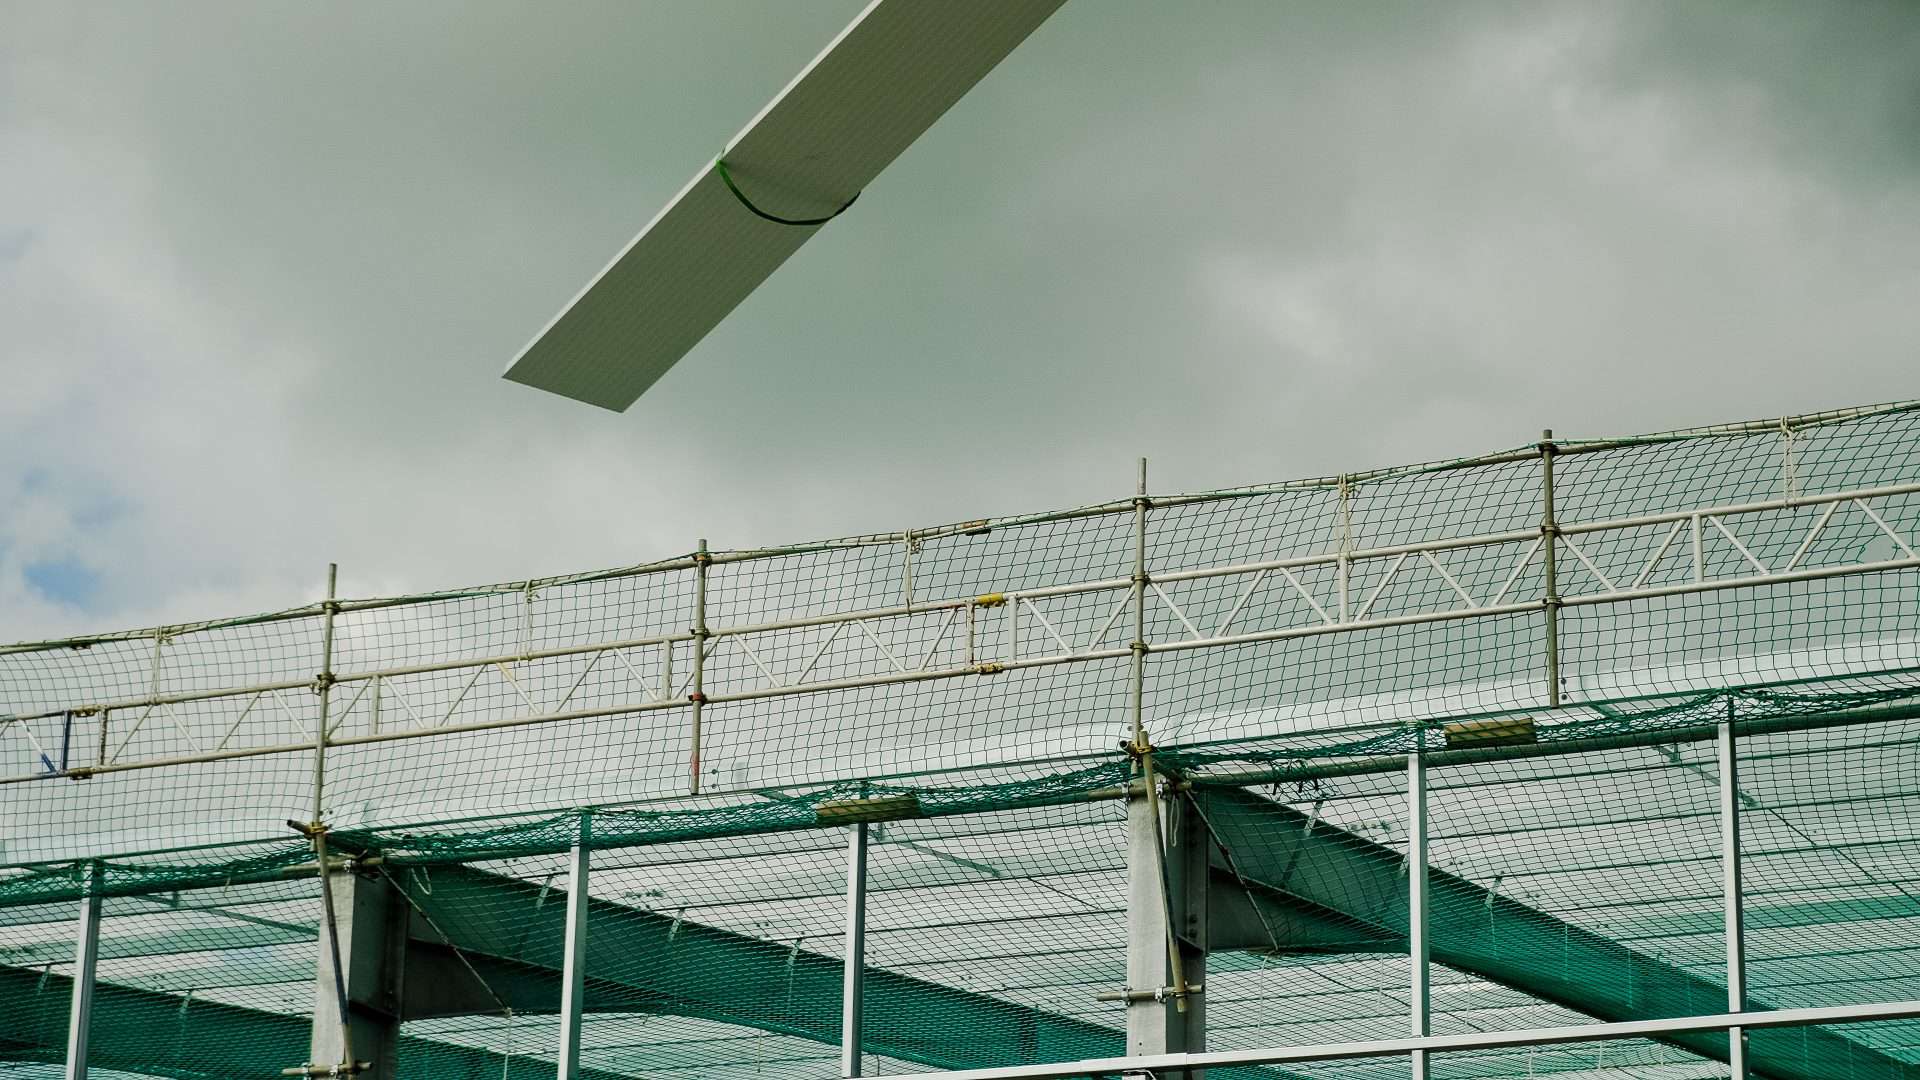
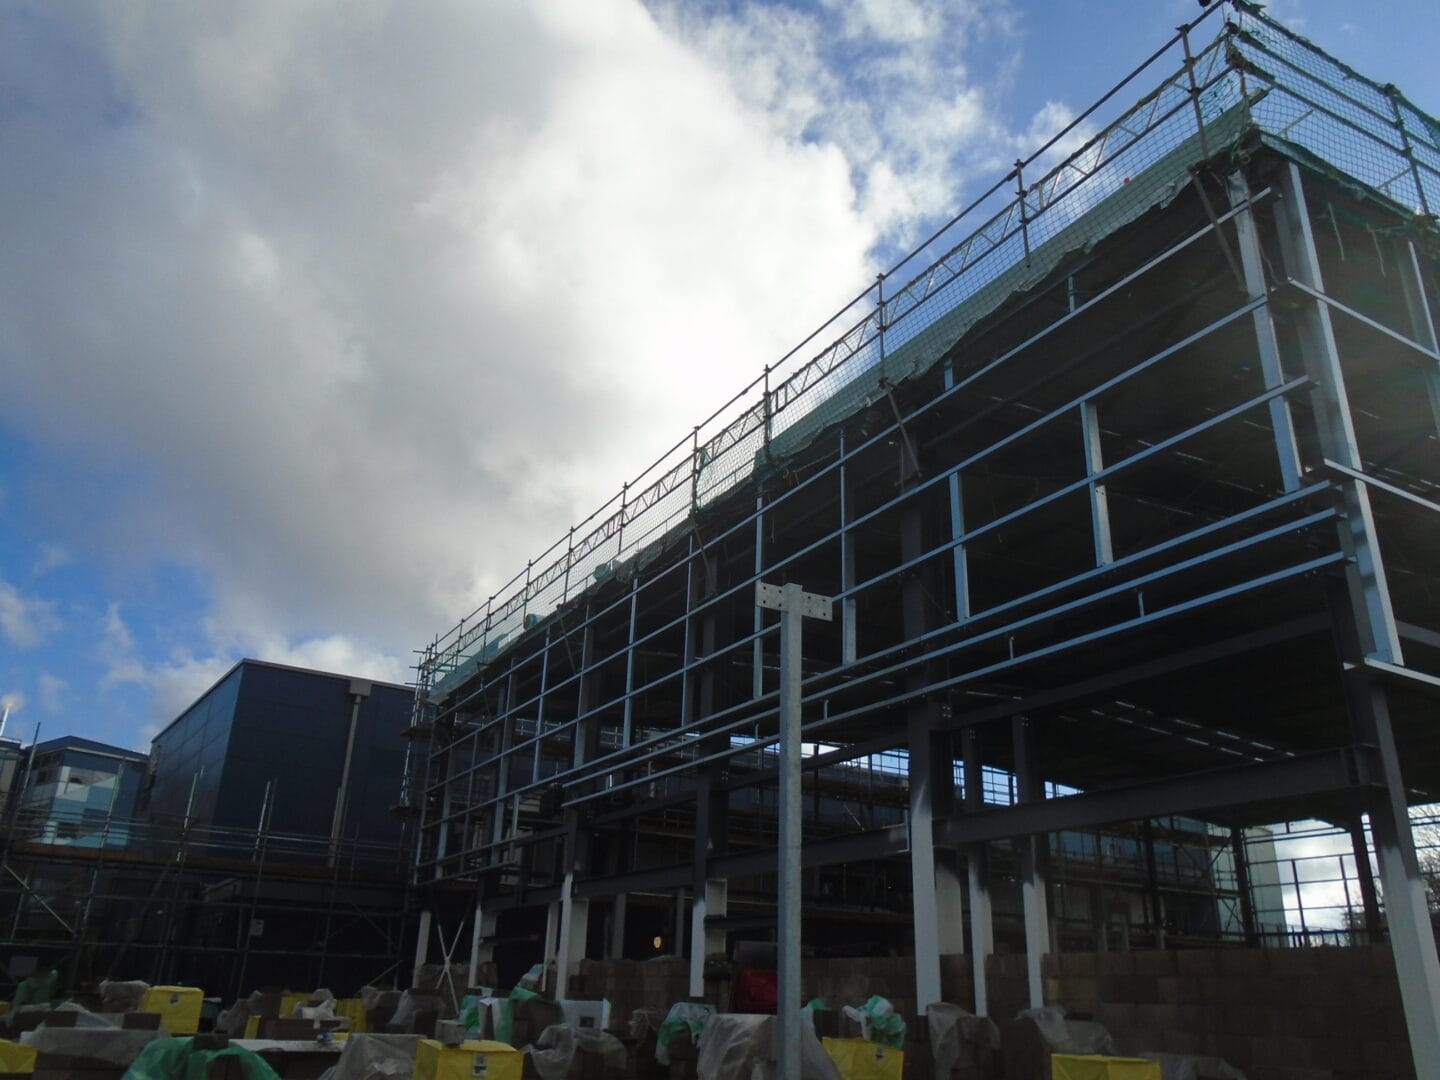
| Perimeter/edge nets | Fixed to edge anchors to prevent falls and contain debris during façade and roofing operations. |
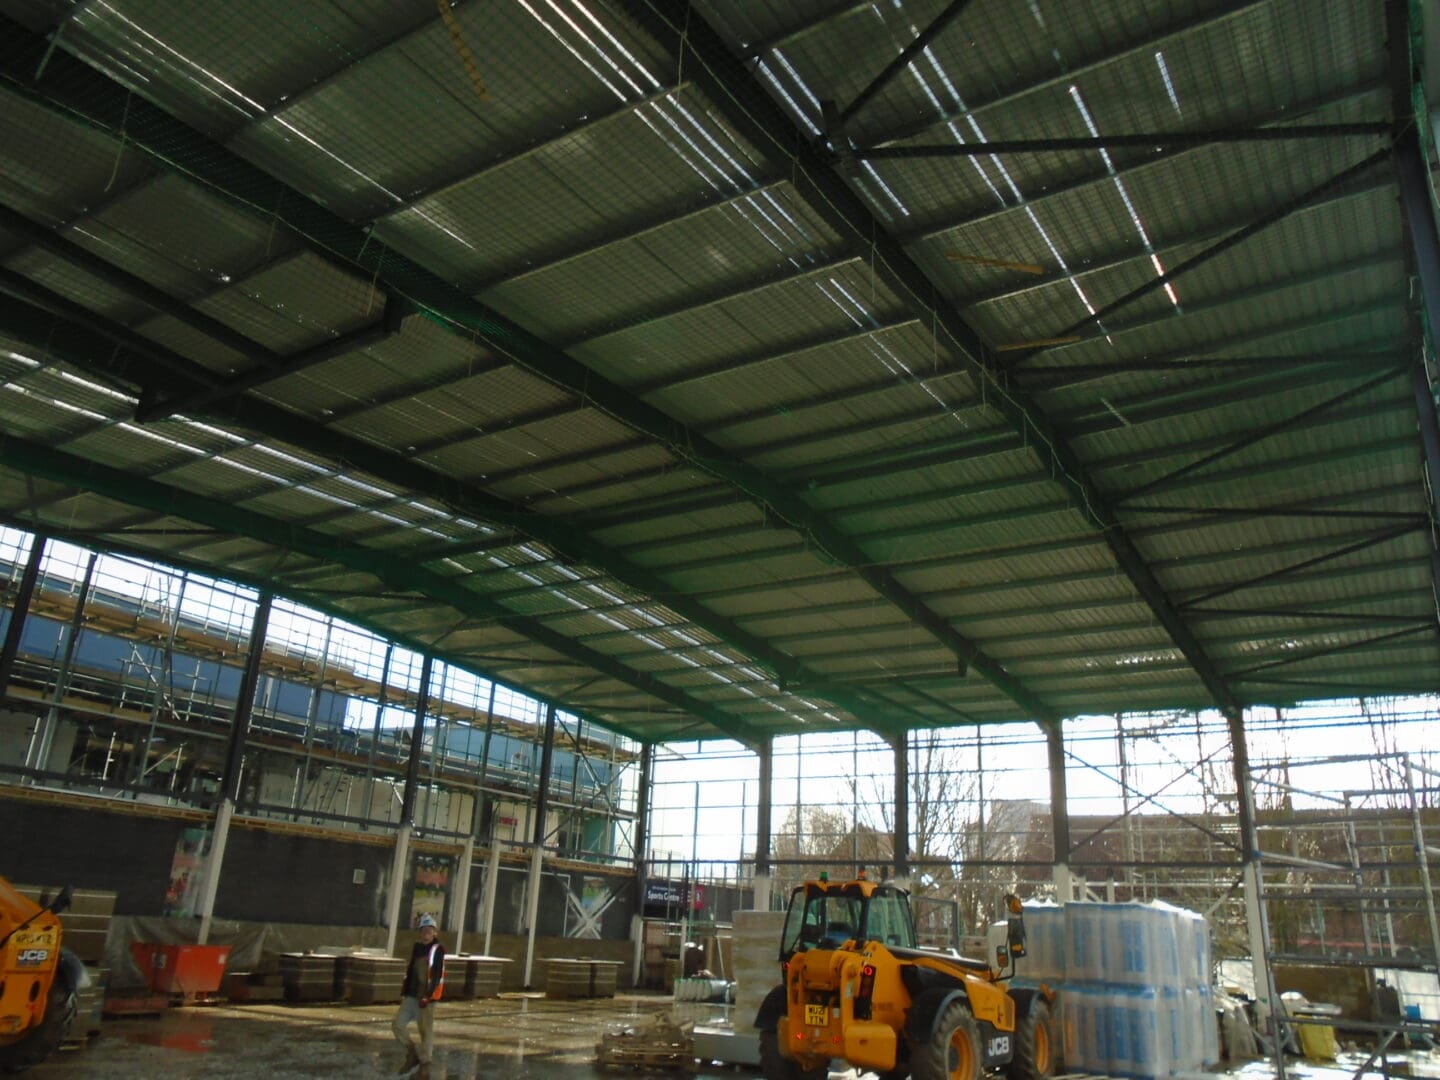
| Suspended nets | Used beneath slab edges or between floors during progressive construction; require temporary support structures. |
| Scaffold-integrated nets | Installed on scaffold façade to combine fall prevention and dust/debris control; integration simplifies anchorage. |
Temporary vs. permanent solutions
You will choose temporary nets for phased works, short contracts or renovation; they install faster, often use lightweight synthetic fibres and suit sites changing every few weeks. Opt for permanent systems where long-term containment or maintenance access is needed, using stainless or coated steel and designed for multi-year service life with scheduled inspections.
Material choices and performance (synthetic, steel, coated)
You should weigh synthetic nets for light weight and UV-stability against steel nets for superior tensile strength; coated steel offers corrosion resistance in coastal or chemical environments. Manufacturers provide load curves and expected service life-select materials that match site exposure and inspection regimes to maintain safety margins.
In practice, polypropylene and HDPE synthetics resist rot and are easy to handle but can degrade under prolonged UV unless stabilised; they typically suit short-to-medium term projects. Conversely, galvanised or PVC-coated steel gives higher abrasion resistance and predictable long-term behaviour-favoured for permanent perimeter systems and high-drop environments. You should also check splice methods, anchor compatibility and inspection records: field tests and BS EN 1263-1 certification verify energy absorption, while routine weekly inspections and post-impact checks preserve performance and reduce the risk of undetected damage.
Design considerations and performance criteria
You will assess nets against standards such as BS EN 1263-1, modelling fall loads (typically 100-160 kg including tools) and impact energies in the range of 5-15 kJ. Factors to weigh include mesh size, anchorage capacity, expected deflection and clearance beneath the net, and durability under UV and abrasion. Practical projects often mandate a design safety factor of ≥2 and documented test evidence before you approve a system for live use.
Net geometry, anchorage, clearances and energy absorption
Your choice of mesh (commonly 25-75 mm) and cell shape affects capture behaviour and debris passage; smaller apertures reduce object penetration but increase wind load. Anchor points should be specified with load capacities and spacing to limit net span; you should design to accommodate expected deflection, typically allowing 2-4 metres of clearance depending on net class. Prioritise nets with proven energy absorption characteristics and avoid systems with insufficient anchorage.
Debris containment, overlaps and edge treatments
You should specify minimum overlaps and secure edge treatments to prevent escape paths for fragments; common practice is overlaps of at least 200-300 mm secured at regular intervals (for example, ≤500 mm centres). Use header ropes, reinforced borders and toe-edge treatments to control edge loads, and consider secondary containment for high-risk zones to mitigate the danger of falling debris.
For further practical guidance, on complex façades you might combine a fine 25-50 mm mesh layer for small fragments with coarser primary nets, fastening overlaps with stainless steel crimps or rated clips at ≤500 mm spacing. In refurbishment work where masonry removal generates dust and chips, a reinforced header rope and double-overlap arrangement has repeatedly reduced ground-level incidents; apply edge skirts or sacrificial sheeting where wind-driven escape is likely to provide an added layer of protection.
Installation, inspection and maintenance
You must ensure nets are installed to the EN 1263-1 standard by trained installers, with anchors proof-tested at 1.5× design load. Expect a medium-rise façade installation to take about 1-3 days per 100 m², with tension checks after 24 hours and again at one week. Keep manufacturer certificates, load-test results and photos on-site, and plan for routine inspections and replacement intervals (typically every 3-5 years depending on UV exposure and abrasion).
Installation best practices and quality control
You should map anchor positions from structural drawings and follow manufacturer spacing-commonly 1.5-3 m depending on load-using torque-controlled tools and certified fixings. Perform sample pull-tests on at least 10% of anchors, mark tension settings with tamper-evident tags, and specify overlaps of 200-300 mm at seams. Use a third-party quality check for high-risk projects and store installation photos, serial numbers and test certificates together for auditability.
Inspection schedules, repairs and recordkeeping
You must implement daily visual checks by operatives, formal inspections weekly by a competent person, and an immediate inspection after any severe weather or impact. Remove nets from service immediately if you find critical damage, and carry out repairs or replacements within 24 hours. Keep concise logs with dates, inspector names, defect descriptions and corrective actions, plus photos for every intervention.
For greater clarity, your inspection records should list net serial numbers, anchor IDs, measured tensions, and any laboratory test results; retain photographic evidence of defects and repairs. Where works exceed three months, schedule a full technical inspection every 3 months and a certified strength test annually for high-exposure installations, then hand over a complete dossier to your client at project close.
Regulatory compliance, standards and testing
You must align your netting choice with statutory requirements and contract specifications; failure to do so can lead to prohibition notices, fines or work stoppages. Common references include EN 1263 (Europe), OSHA 29 CFR 1926 (US) and ANSI Z359, and you should verify manufacturer declarations and test certificates against the project scope. For practical guidance consult How To Select The Right Type Of Protective Guard Netting For …
Applicable standards and certifications (local, regional, international)
Check that nets carry the correct marks such as BS EN 1263 for European applications and conformity to local building regulations; in the UK you may see BS/EN prefixes. Also require manufacturer quality-system evidence like ISO 9001 and, where relevant, traceable batch certificates showing tensile ratings (many systems specify strand strengths in the tens of kN). Ensure the certificate explicitly matches your intended use and anchorage configuration.
Laboratory and field testing protocols
Specify both static and dynamic tests: static load tests verify ultimate strength, while dynamic drop tests (commonly using a 100 kg mass) measure energy absorption and peak forces; include accelerated ageing (UV, salt spray) and abrasion trials. Demand reports from accredited labs (eg UKAS/ISO 17025) and retain sample traceability so you can confirm specimen, procedure and acceptance criteria for each delivered batch.
In practice, field verification should complement lab data: conduct a visual check before each shift, perform a documented inspection after any impact and schedule formal inspections monthly or after severe weather. Case studies show nets failing when UV exposure reduced breaking strength by >20% after accelerated 500‑hour ageing, so combine lab ageing results with on-site replacement thresholds and clear log records.
Cost, procurement and lifecycle planning
Account for procurement lead times (typically 2-8 weeks), routine inspections every 6 months or after storms, and a net lifespan generally between 5-15 years depending on UV exposure and loading; you should factor installation, training and disposal into budgets and consult How to Choose Fall Protection Nets for Construction Sites for selection criteria and performance comparisons.
Budgeting, total cost of ownership and replacement cycle
When you budget, include purchase, certified installation, periodic testing, repairs and end‑of‑life disposal: the total cost of ownership can be 20-50% higher than the purchase price over a decade. Plan for scheduled replacements every 5-10 years, shorter in coastal or high‑UV sites, and allocate an annual maintenance line for inspections and minor repairs to avoid catastrophic failures.
Supplier selection, warranties and service agreements
Choose suppliers with EN certification (eg EN 1263‑1), ISO 9001 or CE marking, and clear printed warranties (typically 2-5 years); you should insist on written service agreements covering scheduled inspections, emergency response times (24-72 hours) and documented test certificates for each net delivered.
Dig deeper by requesting sample test reports for tensile strength, UV stabilisation data, and evidence of trained installers on previous projects similar to yours. Insist on contractual KPIs: annual inspection reports, repair turnaround times, and a replacement clause if performance drops below agreed thresholds. Verify public liability insurance limits, ask for client references, and prefer suppliers who offer on‑site commissioning and a written maintenance schedule to protect your investment and workforce.
Final Words
Summing up, you should assess site risks, load requirements and regulatory standards, prioritise durable materials and proven anchorage, and choose installers with certified experience; factor lifecycle maintenance, inspection schedules and compatibility with your work sequence, and weigh upfront cost against long-term performance to ensure the safety netting system you select meets operational needs and legal obligations.