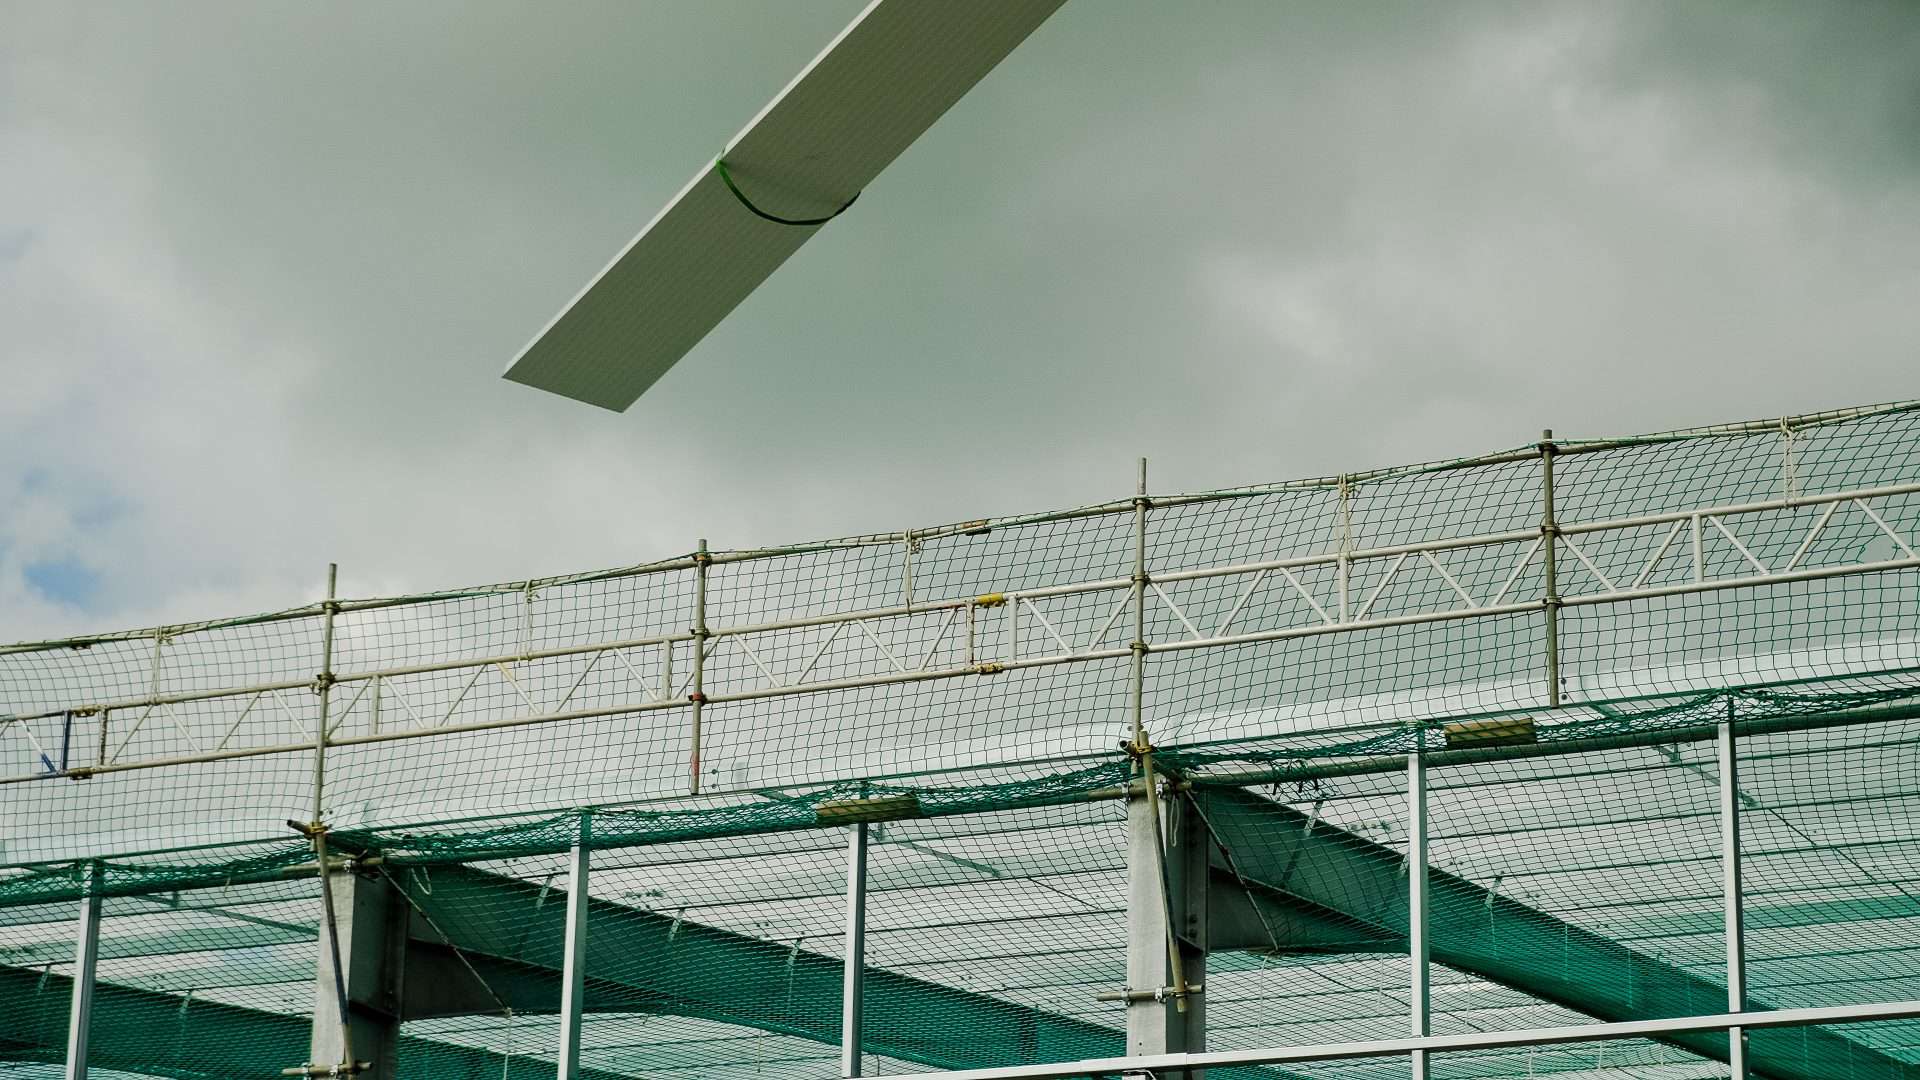
There’s no substitute for thorough planning when you use MEWPs to install or remove safety netting; you must carry out a site-specific risk assessment so that you and your team use the correct platform and access method. Ensure a competent operator, pre-use inspections, correct anchorage and load limits, and be aware that entanglement, falling objects and tip-over risk are the most dangerous hazards; with proper control measures you reduce exposure and improve efficiency.
Planning & Risk Assessment
You must integrate MEWP positioning, rescue planning and weather windows into the plan: schedule netting installs in calm conditions, place the MEWP to minimise repositioning and brief the team on emergency descent and retrieval. Include a documented rescue drill. Use site-specific SOPs and ensure the appointed competent person signs off all documentation before work begins.
Site survey, hazard identification & exclusion zones
Survey the footprint for bearing capacity, overhead services and adjacent pedestrian routes. Set physical exclusion zones to cover the MEWP swing radius plus at least 2 metres beyond the platform reach, erect barriers and signage, and keep a clear drop zone beneath the work area. Flag overhead live conductors and soft ground as high-risk items requiring mitigation or engineer verification.
Method statements, permit-to-work
Your method statement must state step-by-step rigging and removal methods, PPE, rescue procedure and handover criteria; the permit-to-work should control access near live services or confined areas and be signed by the responsible person. Include detailed load calculations and manufacturer limits, and ensure a toolbox talk covers exclusion zones, communication signals and emergency contact details before work starts.
MEWP Selection & Preparation
Choose a MEWP based on site geometry, ground conditions and the netting system’s attachment points. You should match working height and lateral reach – scissor lifts typically to 18 metres, articulated booms to 20-30 metres and telescopic booms beyond 30 metres – and factor in wind limits (manufacturers often cite ~12.5 m/s). Ensure the operator is trained, the machine’s last LOLER examination is current and the ground can bear outrigger loads.
Platform type, reach, stability & rated capacity
When you select the platform type, weigh stability and rated capacity against access needs: scissor lifts give large deck area but limited outreach, articulated booms access around obstacles and telescopic booms give long reach. Rated capacities commonly range from 200-500 kg; always add the weight of personnel, tools and net panels. On one façade job, exceeding capacity by 50 kg caused an immediate descent and job stoppage – calculate total load before you move the MEWP.
Pre‑use checks, restraints, outriggers & interface with netting
You must complete a formal pre‑use checklist each shift: inspect guardrails, controls, emergency descent, harness anchor points and interlocks. Verify outriggers are deployed on pads and slope sensors are within limits. Use restraints or approved fall‑arrest systems and do not attach netting or its load to the platform structure; transfer net loads to building anchors or independent supports. Log defects and withdraw the MEWP if any safety system fails.
When you carry out checks, operate all functions slowly to confirm smooth behaviour and test the emergency descent. Confirm anchor points are certified for fall protection and that lanyard lengths limit swing. Fit outriggers on pads – typically at least 300 mm square – and verify ground bearing with a probe or geotechnical data. If netting will be tensioned, simulate panel loads to ensure the MEWP’s stability and controls remain unaffected.
Safe Installation Techniques
You must follow proven techniques when installing netting from MEWPs; plan lift positions, use harnessed operators and communicate using radios as required. Always consult the manufacturer’s guidance and the CPA guidance Managing the Safe Condition of Mobile Elevating Work …. Use certified anchor points, pre‑inspected slings and a documented lift plan to reduce swing and snag risks.
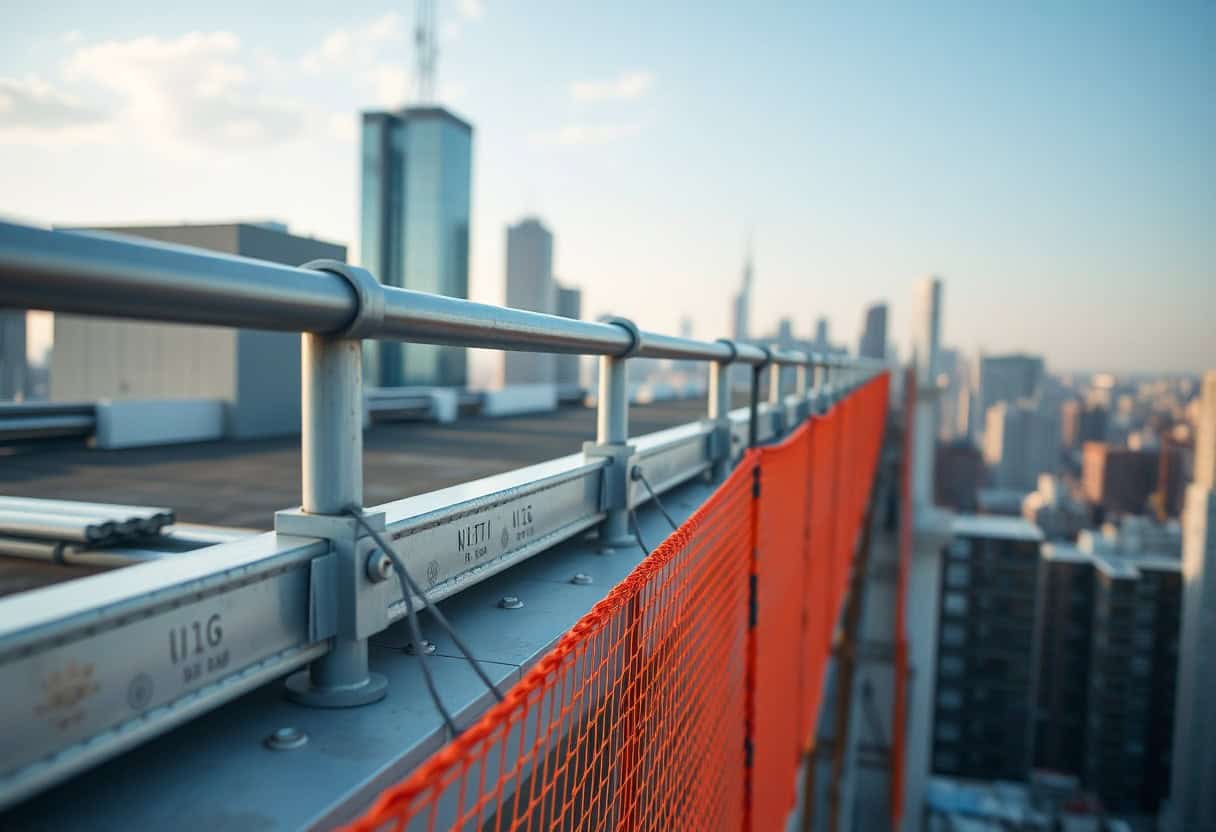
Rigging netting from MEWPs: anchorage, tensioning & edge protection
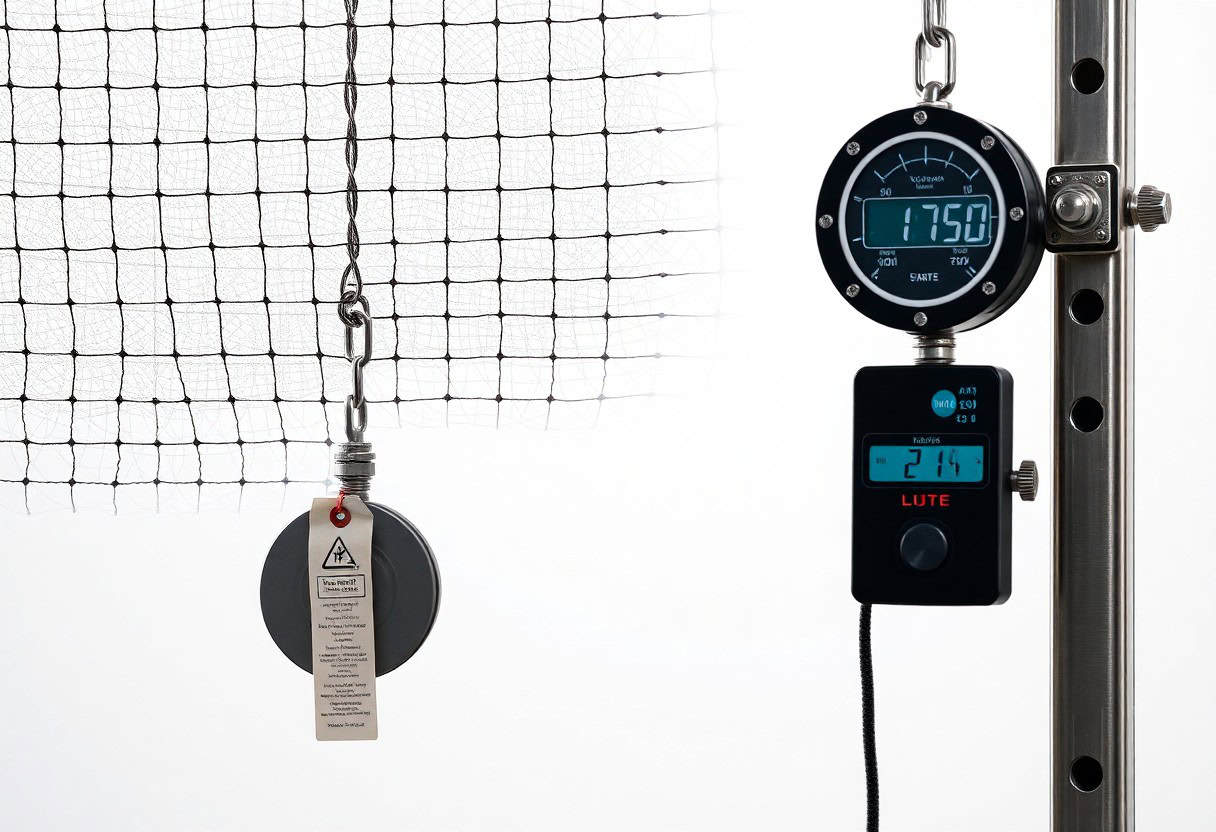
You should place anchors at intervals no greater than 3 m and select anchor fittings rated ≥10 kN. When tensioning, apply even load from several points to avoid point loading; use turnbuckles or progressive tension straps and monitor net deflection, and exclusion zones beneath the MEWP to protect personnel from falling debris.
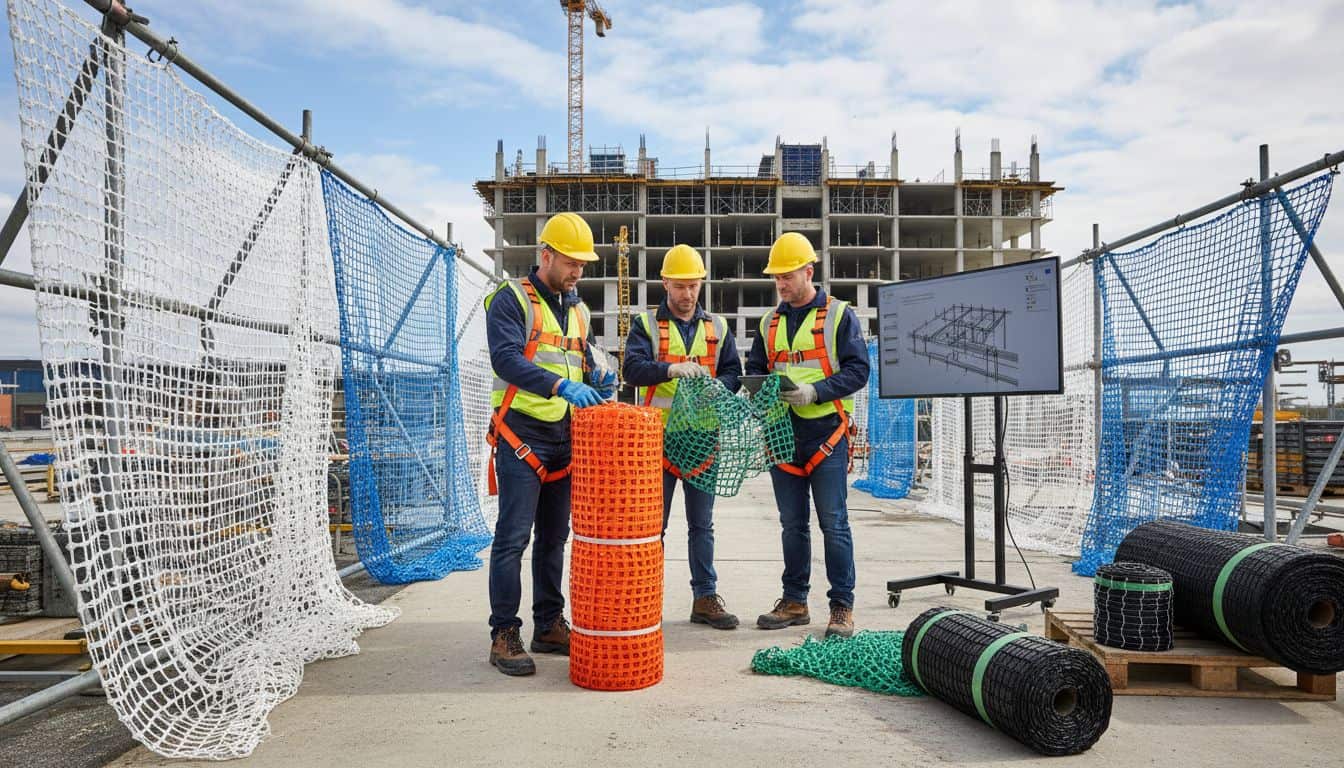
Materials handling, positioning strategies & handover control
You should pre-plan kit placement so nets and slings are staged within 2 m of the basket to avoid overreaching; use two-person handling for nets over 20 kg and tag each bundle with identification and inspection date. Maintain a written handover when operators change shift, noting defects and outstanding actions.
When handling heavier bundles you must confirm slings, shackles and lifting frames have a visible WLL and are within statutory inspection dates; taglines reduce uncontrolled spin and should be used for any net over 5 m² or when swing risk exists. Position the MEWP so the basket is within 1 m of the workface where possible, avoid overreaching beyond the rated outreach and check ground bearing and outrigger pads. Use a digital handover log and a signed checklist that captures net ID, inspection date, lift method and weather cut-off (site limits typically 8-10 m/s). Store nets flat, dry and away from sunlight to preserve strength.
Safe Removal Techniques
You must plan removal as a staged operation: position the MEWP to maintain a safe working envelope, use taglines from ground staff to control panels, and sequence dismantling to prevent load shifts. Suspend operations if wind exceeds 28 km/h (≈8 m/s) or the MEWP’s SWL is approached. Use harnesses and secondary lanyards while disengaging fixings, and record each panel removed on your lift plan to ensure no elements are left unsecured.
Sequential dismantling, lowering procedures & snag prevention
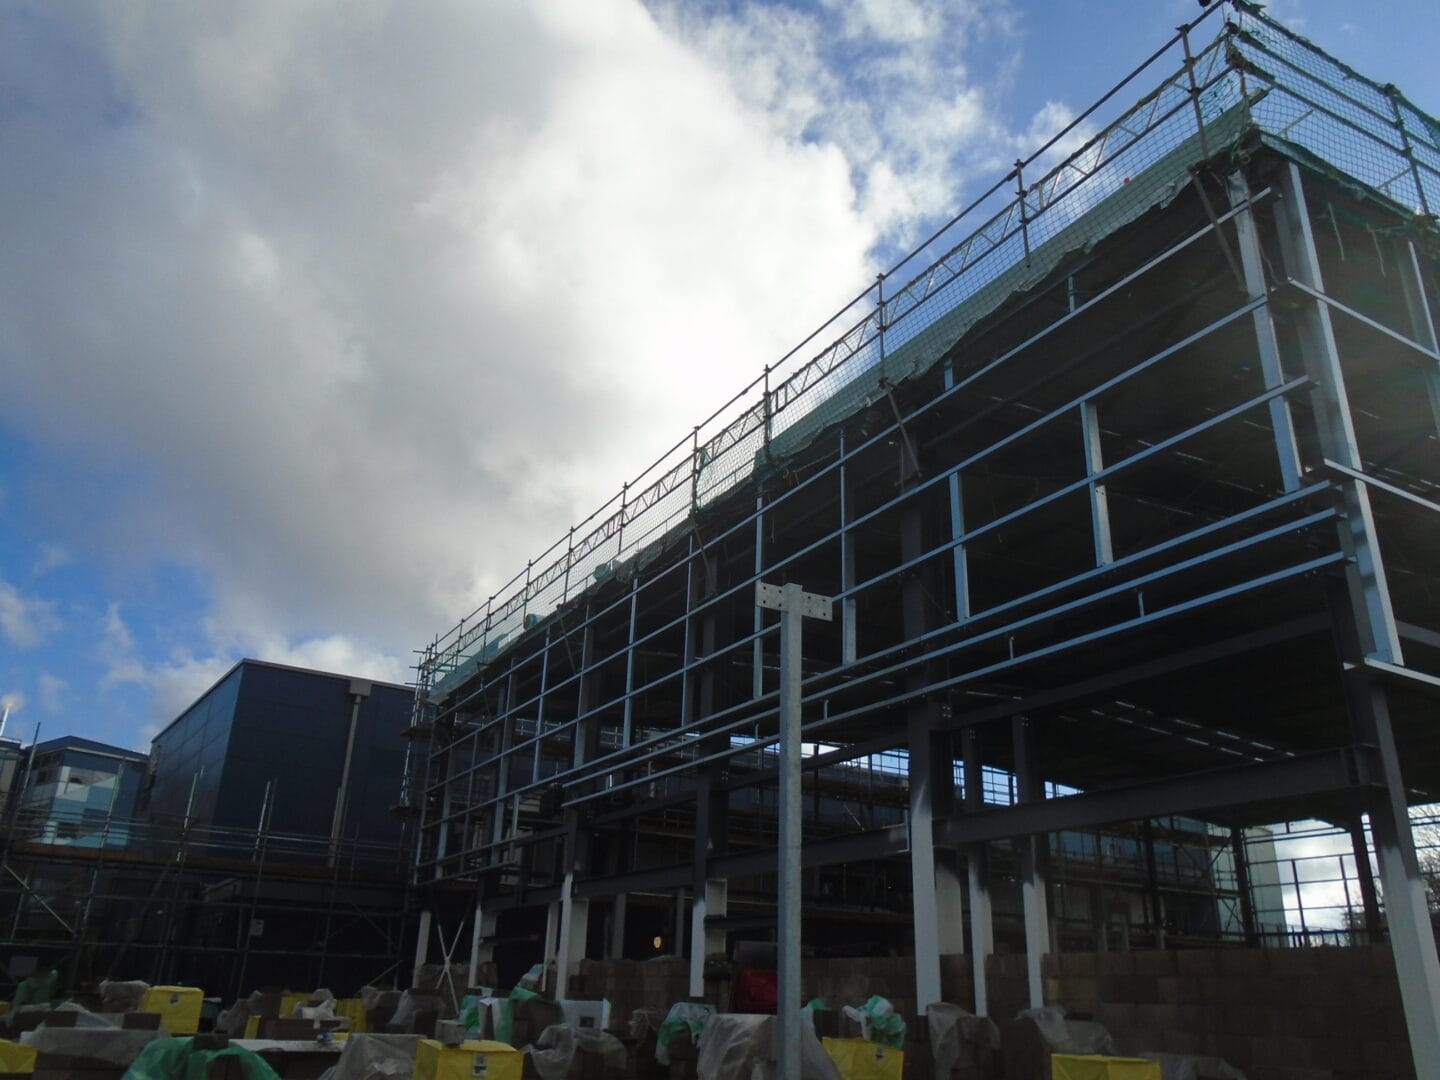
Begin dismantling at the highest, most wind-exposed panels and work methodically towards the building; when a net spans more than 10 m deploy dual lowering points to balance loads. You should lower nets slowly with taglines managed by ground crew, and stop immediately if a snag develops. Use the MEWP’s smooth-control settings, keep personnel outside a 2 m exclusion zone beneath the work, and mark any snag points for inspection before re-movement.
Dealing with damaged nets, temporary supports & waste handling
On discovery of damage you must isolate the affected netting, tag it out of service, do not attempt repairs at height; lower damaged sections for repair or disposal. Track waste volumes – for example, a 3-week façade programme produced 120 m² of net waste – and use a licensed carrier with disposal documentation to close the loop.
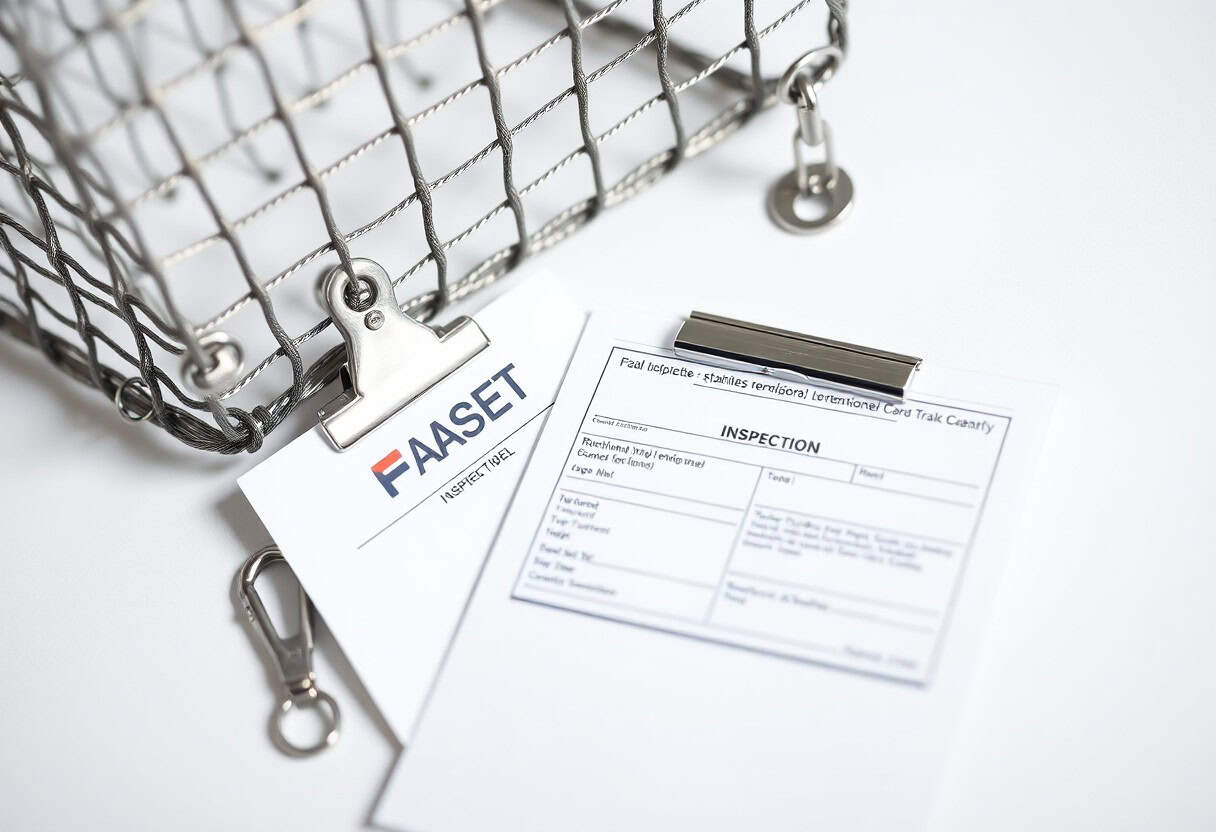
You should inspect every net and log findings on-site; if over 10% of a panel shows fraying or holes greater than 25 mm replace it rather than repair. Use rated slings and stainless shackles to transfer loads, keep a secondary restraint while cutting out sections, and double-bag contaminated or asbestos-tainted nets. Obtain a Waste Transfer Note for each load and retain it with your site file to satisfy audit and contractual obligations.
Training, Competence & Communication
You must ensure operators hold recognised certificates such as IPAF (valid for five years) and riggers/banksmen possess Slinger/Signaller or equivalent training; integrate a written rescue plan per MEWPs and the Elevated Risks: Creating a Rescue Plan. Daily briefings of 5-10 minutes and designated rescue-trained personnel reduce delays and incidents; document competence, toolbox talks and a permit-to-work before any netting lift or removal.
Operator, rigger & banksman roles, qualifications & briefings
Assign clear duties: you must have an IPAF-trained operator, a rigger competent in load-securing and net attachment, and a banksman controlling lifts and exclusion zones. Briefings should cover task sequence, pinch points, fall zones and emergency rescue steps, last no more than 12 hours before work, and be recorded on the permit-to-work with signatures and contact details for rapid accountability.
Radio/signalling protocols, site coordination & permit compliance
Use dedicated radios (PMR446 or licensed UHF) with one channel reserved for MEWP ops and one for emergencies; you should adopt standard phraseology and a three-step confirmation for movements. Ensure the permit-to-work names responsible persons, time windows, and exclusion zones, and verify batteries, spares and backup comms before starting to prevent uncontrolled movements or delays.
For extra clarity, implement a two-person radio check at shift start and require verbal three-part confirmations such as “controls locked – nets clear – commence” before any movement. Integrate traffic management with crane lifts and pedestrian routing, log all comms for audits, and enforce a 1-2 metre exclusion buffer around the MEWP swing and net attachment points to keep your team safe and compliant.
Emergency Preparedness & Rescue
You must maintain a written emergency plan tailored to netting works, with on-site rescue equipment and assigned roles so you can effect a rescue within a 5-15 minute window; suspension trauma risk rises quickly. Ensure the MEWP can be safely manoeuvred into rescue position, that controls are reachable, and that at least two trained responders are available during netting installation and removal.
MEWP-based rescue plans, retrieval equipment & trained responders
Design your plan to specify operator and rescuer duties, use of a rescue harness, SRL or winch, and the MEWP’s emergency descent procedure. Include daily pre-use checks, a stocked retrieval kit (harness, slings, karabiners, lowering device) and drills every six months, with competency refreshers at least annually so responders can deploy equipment safely under load.
Incident reporting, investigation & lessons learned
Log incidents within 24 hours, preserve the scene, collect witness statements and MEWP fault codes, and implement corrective actions on a defined timescale-aim to assign and begin fixes within 7 days. Share findings promptly at toolbox talks to prevent recurrence and update your risk assessment and rescue plan.
When investigating, you should pursue root cause analysis (use the 5 Whys or bow-tie), extract MEWP telemetry and maintenance records, and replicate failures in a controlled test if safe. Involve the manufacturer for technical faults, produce a written timeline and action register, review corrective actions at 30 days, and record completed improvements in your safety management system so lessons are auditable and applied across sites.
To wrap up
Presently you should use MEWPs to position and remove safety netting methodically, ensuring platform stability, proper fall protection and clear communication; consult the ESH Manual Chapter 47: Mobile Elevating Work Platforms for regulatory guidance, perform pre-use checks and brief your team so your operations remain controlled and compliant.